
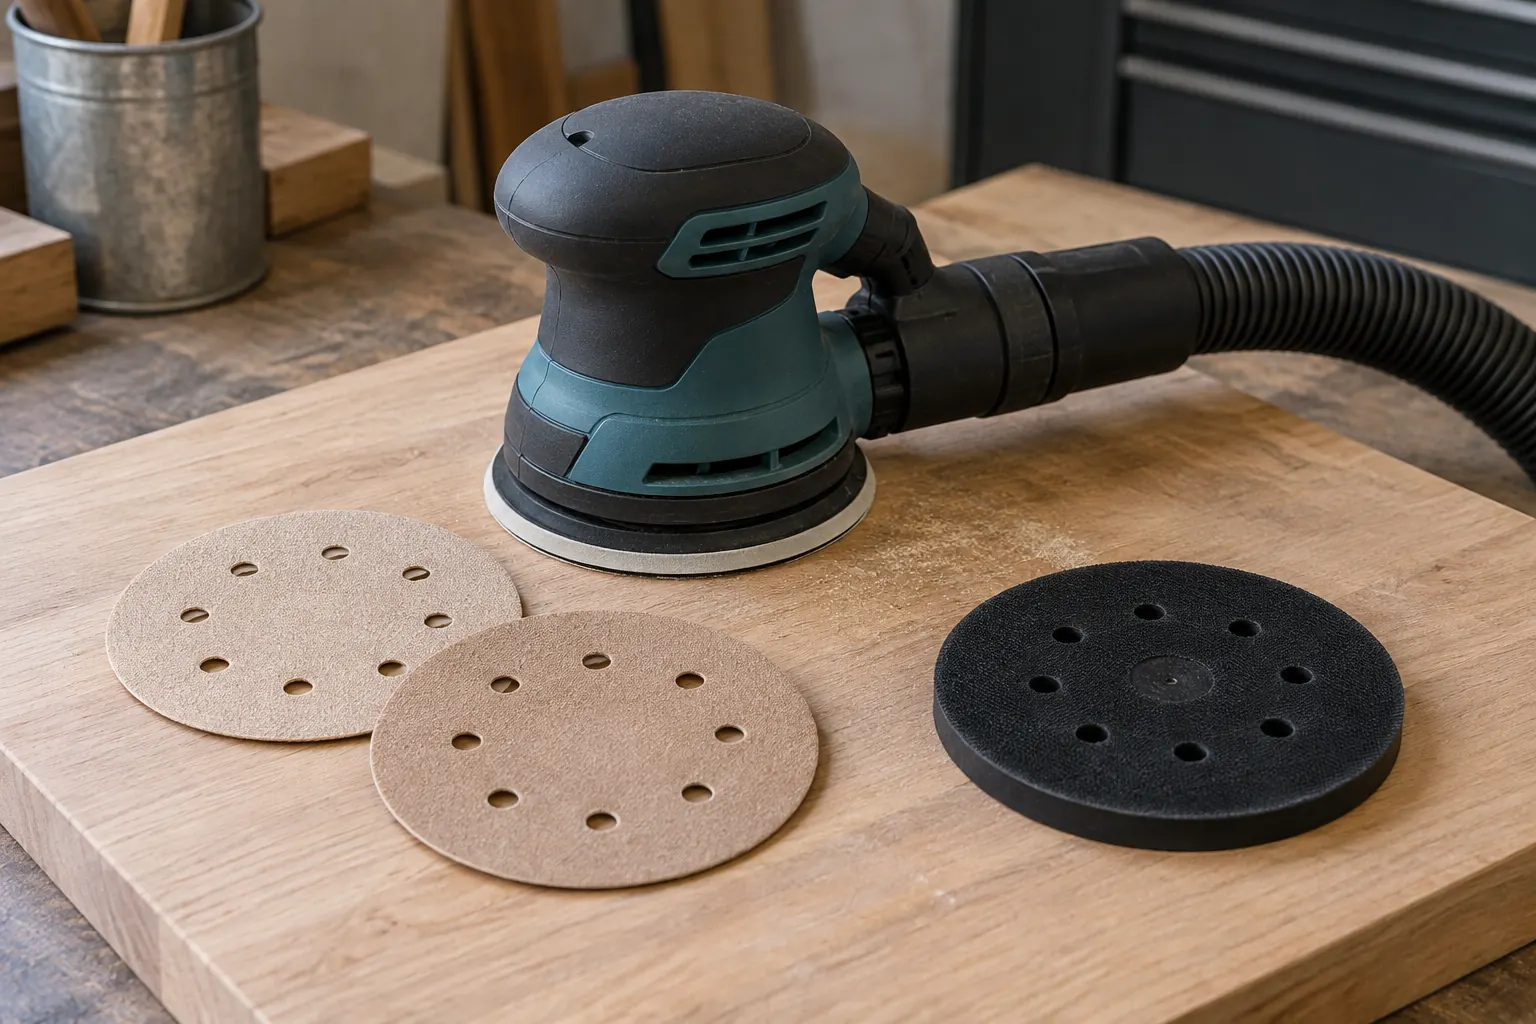
When a customer reports excessive sanding dust, start with the external setup. On a sander designed for extraction, identifying the abrasive, backing pad, hose and extractor helps after-sales staff decide what to check next.
For distributors, knowing the exact machine and accessory configuration is more useful than a short video showing a dusty workplace. It helps separate compatibility, maintenance and operating issues. This guide covers external checks, not internal repairs.
Did it always happen, or start after a change?
Ask what material is being sanded and where dust escapes: around the disc, at a hose connection or near the extractor. Establish whether the abrasive, backing pad, interface pad or extractor was changed recently.
Collect the following with the service report:
- Full model numbers for the sander, backing pad and extractor.
- Abrasive product code, size and grit from the packaging, plus photographs of both sides.
- Photographs showing interface pads, pad protectors and adapters as installed.
- Material, coating and when the problem began.
If dust increased after a new batch of abrasives was fitted, compare the old and new consumables first. That is a useful clue, not proof that the new abrasive is defective.
A disc that sticks is not necessarily extraction-compatible
Check the compatibility instructions for the abrasive, backing pad and any intermediate layers. Where a particular hole alignment is required, check for misplaced discs or blocked extraction holes. Include interface pads and pad protectors, not just the outer abrasive.
Do not apply an exact hole-by-hole alignment rule to every abrasive. Some multi-hole products use a different airflow design. Mirka, for example, states that its Multifit design does not require individual hole alignment. That feature belongs to the specified product; it does not make all discs of the same diameter interchangeable. Mirka: Multifit perforation design
When a supplier proposes an alternative abrasive, request the compatible pad or machine details. “The same size” is not enough to confirm the complete setup.
Follow the hose through to the bag and filter
Stop the equipment and isolate its power supply as instructed before checking it. Check hose connections, obvious kinks and signs of blockage, then inspect the collection bag and filter condition according to the extractor manual.
Do not remove filters to increase suction. Nor should you assume that a filter can be washed or cleaned with compressed air. Follow the prescribed cleaning and replacement procedure.
Mirka's dust-extraction guidance also stresses maintenance of filters, bags and abrasives. Extraction does not remove the need for appropriate protection: “dust-free” marketing must not be read as a guarantee of no dust hazard for every material and working condition. Mirka: dust extraction and maintenance
Confirm the suction setting required for the actual equipment combination, rather than copying another machine's setting.
Loaded abrasives: check the material and technique too
Record the dust or residue on the abrasive and confirm that it suits the material and operation. Abrasive loading, worn abrasive and a machine fault are not the same diagnosis.
After checking the setup, a trained operator should verify speed and applied pressure against the instructions. Festool's sanding guidance treats the abrasive, pad, machine and extractor as a system and cautions against excessive pressure in a coating-removal example. Its model-specific and grit recommendations should not be transferred directly to other equipment. Festool: sanding systems in practice
For old coatings of unknown composition, identify the material and necessary protection before proceeding. Do not keep sanding simply to investigate the problem.
Change one variable at a time
Once the material, equipment compatibility and working conditions are confirmed suitable, make a limited comparison on an approved test sample. Change only one item at a time: for example, compare the original abrasive with a supplier-confirmed compatible alternative while keeping the machine, material, technique and extraction setting unchanged.
This is a recording example, not an acceptance standard:
Material and coating: [fill in]; sander and backing pad: [fill in]; abrasive code and grit: [fill in]; intermediate layers: [fill in]; extractor and setting: [fill in]; single change made: [fill in]; abrasive loading, escaped dust and surface condition before and after: [fill in].
Keep photographs taken under comparable lighting and from the same angle. A visibly cleaner workplace is useful feedback, but it does not replace dust-exposure measurement or support a claimed extraction-efficiency percentage.
Stop using equipment that vibrates abnormally, has loose components, smokes or is damaged, and refer it to a qualified repair technician. Do not repeat sanding trials or ask the customer to open the machine.
Keep the confirmed setup for future replenishment
Once the issue is resolved, record the approved machine, pad, intermediate layers, abrasive and adapter models in the product file. Use that record when restocking or changing suppliers. A same-size substitute still needs compatibility confirmation.
For channel sourcing, browse FORZMAX grinding and polishing tools, then send the material details, equipment model numbers and abrasive photographs through product enquiries to discuss the required configuration.
The cover is an AI-generated illustration, not a depiction of actual models, approved hole patterns or extraction performance.