
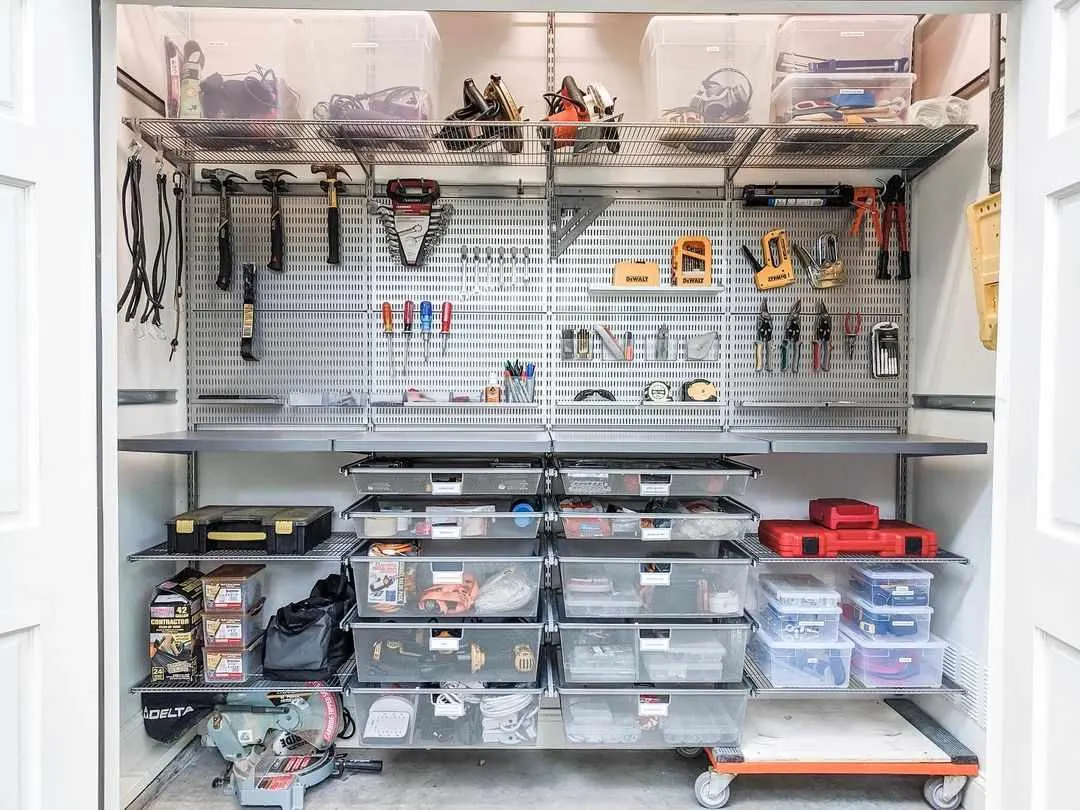

Handheld power tools lined up for storage and inspection
A cordless angle grinder comes back from a hire job, and someone in the returns bay says it "still runs fine." That sentence is not an inspection result. Before the tool goes back on the rack or out on the next job, record the tool, the defect and the decision first, rather than debating whether to swap it out.
What this checklist covers, and what it does not
This article covers external, walk-around checks on cordless and corded portable tools already in your fleet: casings, handles, guards, attachments, cords, plugs, batteries, labels and controls. The check is external and observational: it records what can be seen, felt and safely operated, not what is inside the housing.
It does not cover internal repair or disassembly, insulation-resistance or portable-appliance test values, or any named standard or statutory interval. It is not a recommendation of any specific model, and it is not a substitute for a competent person's assessment where local rules require one.
Why a pre-use check belongs in a rental or shared-tool routine
Hand and power tools are part of almost every busy workplace, and even a small defect can turn a useful tool into a serious safety hazard.
Tools can become damaged through normal use, poor storage, transport, moisture, impact, or lack of maintenance, so a tool that was safe yesterday may not be safe today. Do not assume that a tool is safe because it worked correctly during the previous shift.
Most importantly, the inspection should happen before use. Workers should not wait until a tool fails before checking it. A pre-use inspection helps workers spot problems before they become incidents, and a quick check can identify a damaged cord, loose handle, missing guard, worn attachment, or other defect before the tool reaches the job.
For fleet tools, add the triggers that follow a hire cycle:
- After storage, especially in damp or unheated space
- After transport or a drop
- After any repair or battery swap
- After demanding use on the last job
Record the tool first: identification fields
Start by identifying the tool being inspected. Record:
- Tool name ____
- Tool type ____
- Asset or serial number ____
- Location ____ / Department ____ / Operator ____
- Inspection date ____ / Inspection time ____
- Inspector ____
This information makes it easier to track individual tools and identify repeated problems. For a fleet, add three more fields: hire or job reference, outgoing condition record, and incoming condition record. The hire reference is what links a defect pattern to a job site, a crew or a storage location later, so fill it in at the start of the check rather than after a problem appears.
The external walk-around: body, handles, guards and attachments
First, inspect the complete tool for visible damage, not only the obvious parts. Check for cracks, bends, broken parts, loose components, excessive wear, corrosion, missing parts, damaged handles and loose fasteners. A damaged hand tool should not remain in service simply because it still appears usable.

External walk-around: check the tool body, handle and guard first
Handles. Handles help workers maintain control, so check that they are secure, grips are not cracked, wooden handles are not split, and there is no excessive oil or grease or temporary repair. A loose handle can cause a tool to slip or separate during use, and a cracked handle can reduce control and cause the tool to break during use.
Guards and safety devices. Power tools often rely on guards and safety devices to reduce exposure to moving parts. Check that guards are present, secure and undamaged, and that safety switches, triggers and emergency stops work. Never allow a worker to use a tool with a missing or defective safety guard.
Attachments. Cutting tools need special care because damaged edges can create sudden failures. Look for cracks, chips, excessive wear, bending, or other damage on blades, drill bits, cutting wheels, grinding wheels and saw teeth, and make sure the correct attachment is fitted for the task. Worn blades, bits, wheels, and other attachments may perform poorly or fail during operation.
Common failures seen in inspections: damaged cords, missing guards, cracked handles, worn attachments, poor storage damage, and improvised repairs with tape or wire. On a fleet, the same failure appearing on several tools that shared a storage box or a transport route usually points to handling or storage rather than to the tool itself.
Cords, plugs and batteries: the electrical block
Electrical defects can create a serious risk of shock, burns, fire, or electrocution.
Corded tools. Inspect power cords, plugs, grounding pins, cable insulation, strain relief, connections and extension leads. Look for cuts, exposed wires, burns, crushed sections, loose connections, or other damage. Cords may become cut, crushed, frayed, or exposed, and these defects can create electrical hazards.

Checking a power cord and plug during an electrical inspection
Battery-powered tools. For battery-powered tools, check battery condition, battery housing, charging connections, signs of overheating, damaged battery terminals and charger condition. A battery pack has no swelling or leakage, and the charger indicator light is normal.
Compatibility. For cordless tools, record the battery and charger model codes on the hire record and check them against the tool's label before the pack goes back into circulation. Two packs can read the same voltage and still differ in interface or terminals, so voltage alone does not establish compatibility.
Stop-rule wording specific to lithium packs beyond swelling, leakage and overheating signs is not covered here: no manufacturer manual for a specific model was reviewed for this article.
Safe functional check and correct-tool-for-job
A visual inspection is important, however, the tool may still have a performance problem. Where the procedure allows a safe functional check, verify that:
- The tool starts correctly
- Controls work correctly and the tool stops correctly
- There are no unusual sounds or unusual vibrations
- There is no excessive heat
- Attachments remain secure
Follow the manufacturer's instructions when performing operational checks. Record what the operator actually notices during the run: housing temperature by hand, any change in sound from startup to steady running, and vibration felt through the handle. Enter the result next to the pass or fail status so the observation and the decision sit on the same line of the record.
Task fit. A safe tool can still create risk when workers use it for the wrong task. Check that the tool matches the job, has the correct capacity, that the attachment matches the tool, that the operator understands its use, and that the tool has not been modified. Workers should not use screwdrivers as pry bars or use wrenches as hammers.
PPE. PPE should match the actual hazards, so teams should not rely on a generic PPE list for every tool.
Work area. Tool safety also depends on the surrounding work area: stable work surface, adequate lighting, clear walkways, controlled cords and hoses, and controlled flammable materials. A good tool inspection should consider the tool and the task together.
Record the result: status, photos and clear questions
At the end of the inspection, clearly record the result: Pass / Fail / Requires maintenance / Remove from service / Not applicable.
Use clear questions. Ask "Is the power cord free from cuts and exposed wiring?" instead of asking "Is the tool safe?" Require photos for important defects so supervisors understand the problem without waiting to inspect the tool. Keep inspection records and photos as the basis for quality traceability.
A practical digital template can include the following sections: inspection details, general condition, electrical safety, guards and controls, attachments, work environment, PPE, and final decision.
Stop rules: when the tool leaves the fleet floor
If a worker finds a serious defect, the tool should not be used until the issue has been properly addressed. Remove unsafe tools from service at once. Do not leave the decision for the next shift.
Stop conditions to state plainly:
- Abnormal vibration, loose parts, smoke or burning smell
- Discoloured connector or exposed conductor
- Cracked handle or missing/defective guard
- Swollen or leaking battery pack
- Damaged plug or cord
Defect loop. When a tool fails inspection, workers should: stop using the tool; isolate or remove it from service; identify the defect; tag or mark the tool according to company procedure; notify the responsible person; arrange repair or replacement; record the corrective action; and verify that the tool is safe before returning it to service.
Finding a defect is only the first step. This process prevents a defective tool from simply being passed to another worker. Tape, wire, makeshift fasteners, or other temporary fixes may not provide safe protection.
Inspection frequency: what the sources do and do not say
Workers should perform a pre-use check before using a hand or power tool, especially when the tool has been stored, transported, dropped, repaired, or used under demanding conditions.
Beyond that, organizations can schedule more formal inspections based on tool type, frequency of use, workplace conditions, manufacturer recommendations, risk level, company procedures, and applicable legal requirements. No fetched source gives a monthly or quarterly fleet interval; the schedule must be set from those factors and your own procedure.
Review inspection results regularly. Repeated findings often point to a larger issue with maintenance, storage, purchasing, training, or work practices. When the same defect code shows up across one tool type but not another, the fix may sit in how that type is stored, transported or assigned rather than in the inspection itself.
Common wrong answers
"It still runs fine, so it is fine." A visual inspection is important, however, the tool may still have a performance problem. Do not assume that a tool is safe because it worked correctly during the previous shift.
"Just tape the cord." Tape, wire, makeshift fasteners, or other temporary fixes may not provide safe protection.
"Take the guard off, it is faster." Workers may remove guards because they believe the guard slows down the task, however, this can expose them to moving parts and flying debris.
"Same voltage, so the battery fits." Check the model codes on the pack, charger and tool against the hire record before the tool goes back out, the compatibility point set out in the electrical block above.
"The last guy signed it off." Finding a defect is only the first step; the value of an inspection depends on what happens after a problem is found.
Before you order or re-stock
A hand and power tools pre-use inspection takes only a few minutes, yet it can prevent serious problems. A quick check can identify a damaged cord, loose handle, missing guard, worn attachment, or other defect before the tool reaches the job. However, the value of an inspection depends on what happens after a problem is found: teams need a clear process for reporting defects, removing unsafe tools, assigning corrective actions, and confirming completion. Consistent pre-use inspections help make tool safety part of everyday work rather than an afterthought.
If you are building or refreshing a rental or hire fleet, share the tool categories, battery platform, kit configuration, target market and expected quantity for a focused review before ordering, and review the sample and quotation requirements first.